DESTINY 2: Beyond Light
Kell of Kells | Activity type: Campaign Story Mission
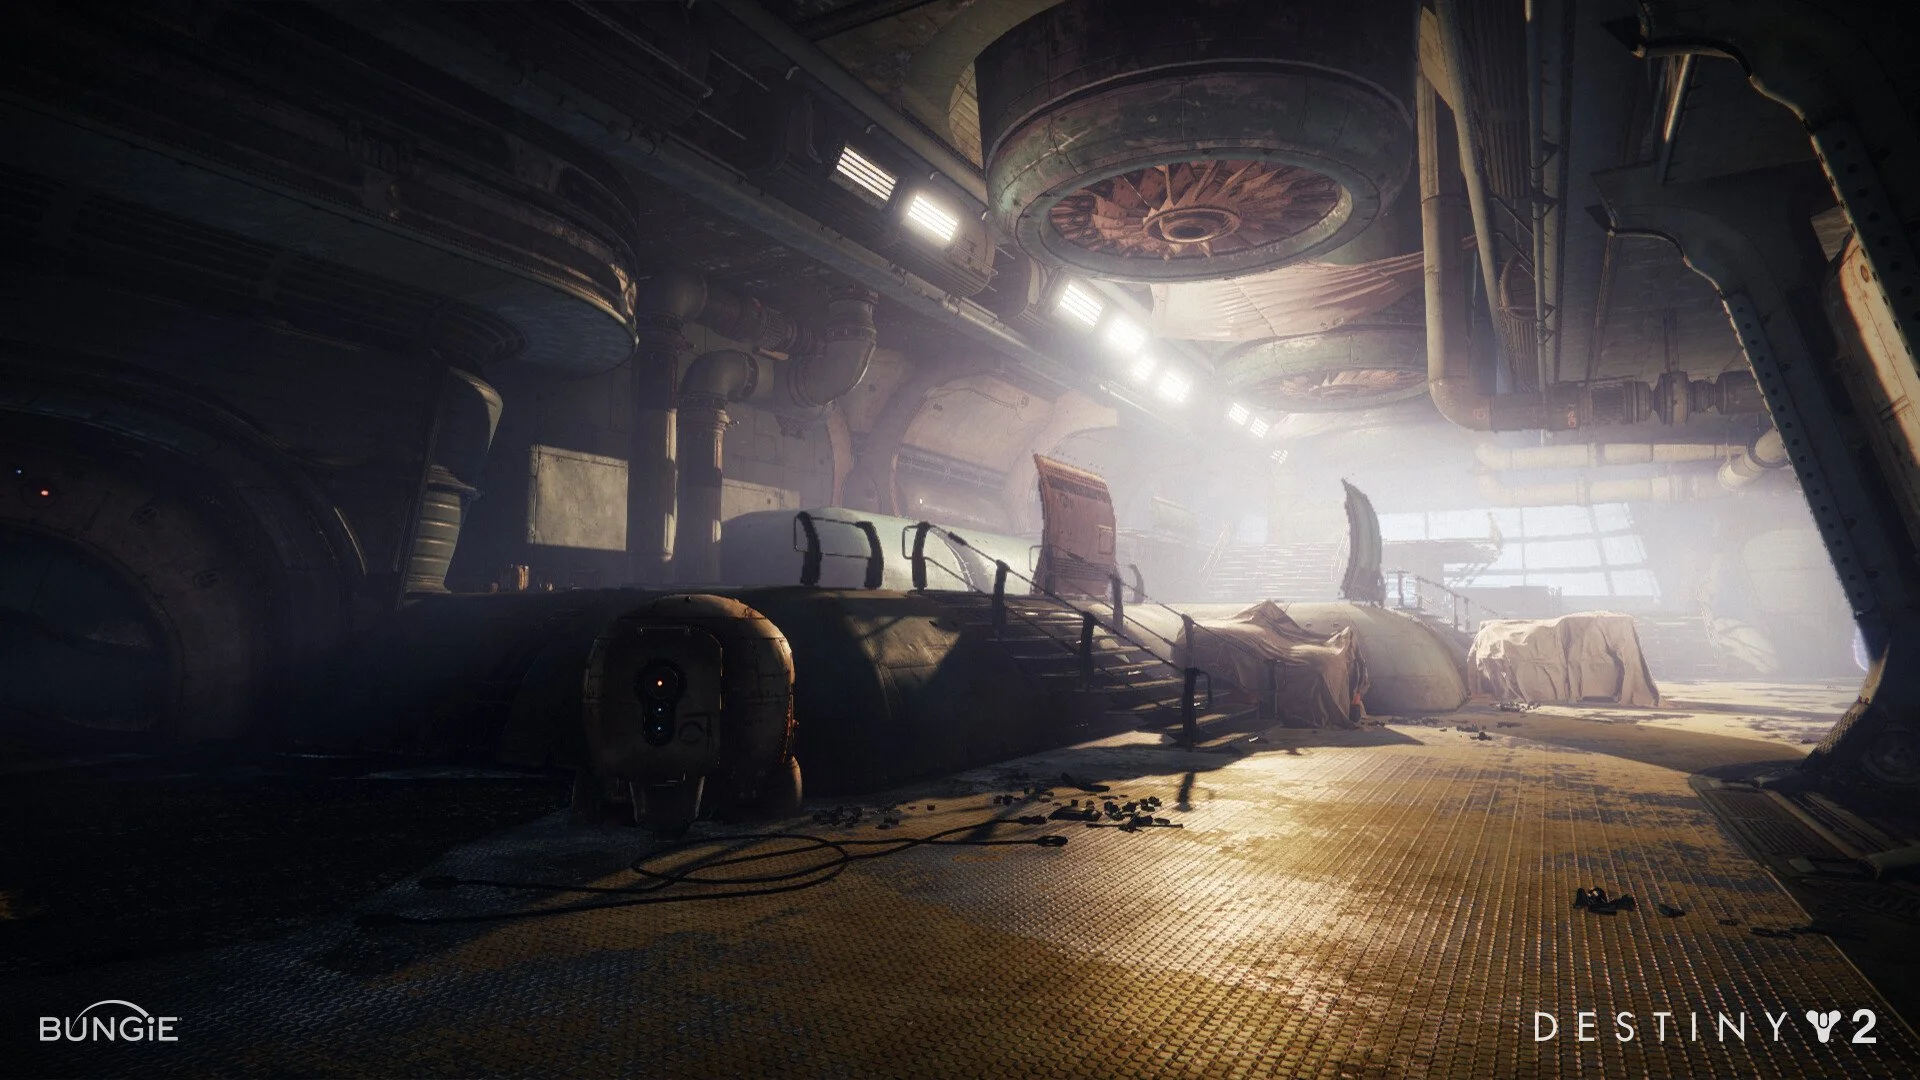
This was a fun space to work with, designing encounters for the Kell of Kells campaign story mission in Beyond Light. Players fight through pockets of enemies inside a multi-floored structure and emerge onto the platform in the lower left of the image above. They then need to fight their way across to the central building and are greeted by an air-dropped mech (a Fallen ‘Brig’) as soon as they set foot on the narrow bridge.
Much of the spaces featured in this part of the mission were already built once design was able to begin work, so my input on the space above was mostly feedback on sightlines and cover placement to better support the combat encounters I was scripting.
Artist and image credit: Marc Thompson
I was able to iterate more closely on this space, working with the artist building it to provide multiple lanes for enemies to use in attacking players as they attempt to progress towards an exit in the back left corner of the space. This space was designed to provide a “breathe in” moment for players coming in from the very large, open “breathe out” space shown in the previous image.
Artist and image credit: Marc Thompson

This room was built to serve several purposes, chief among them being a cinematic showing the main story boss character rallying her sizeable army. It also provided an excellent setting for a large, mult-waved combat encounter for the Kell of Kells mission. The space is large enough to allow players to use all of their considerable traversal abilities, while providing just enough cover and sightline blockers to break up the longer distances. In all, there are five different navigable elevations in the room, giving players (and combatants) plenty of tactical options (and escape routes).
Artist and image credit: Marc Thompson
This is the first portion of a multi-location boss battle from the story campaign finale in Beyond Light. When the boss is at half health, she retreats through the triangular doorway at the rear of the room to an exterior series of platforms where the fight resumes.
My contribution to this space was collaborative and mostly verbal, as the initial blockout was done by the artist and had many goals (including some specific needs from the cinematics team on the project). Without compromising any of those additional goals, we iterated on the space to support the combat gameplay, allowing the oversized boss to move and attack without issue while still keeping the space tight and enclosed to contrast with the outdoor space that players reach next.
Artist and image credit: Frank Robbins
The second half of the climactic boss fight takes place on a series of large circular landing platforms, connected by narrow walkways. Unlike the interior room, this space is completely exposed, with only minimal cover. This space was built based off initial sketches and designs by me, in collaboration with the art and combatant design teams, in order to support the boss’s specific weapons and abilities.
Artist and image credit: Frank Robbins